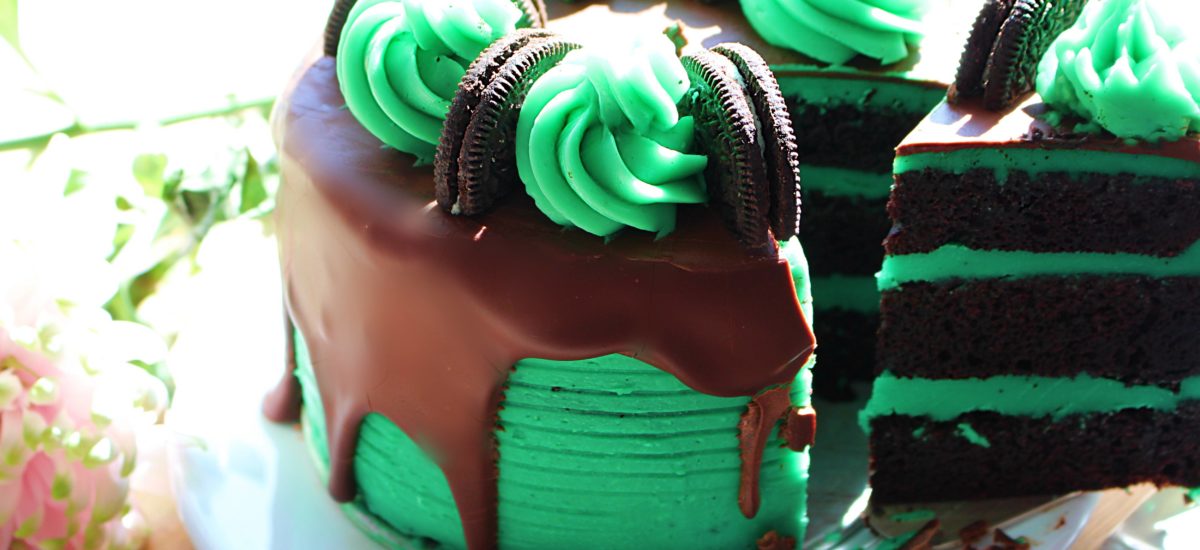
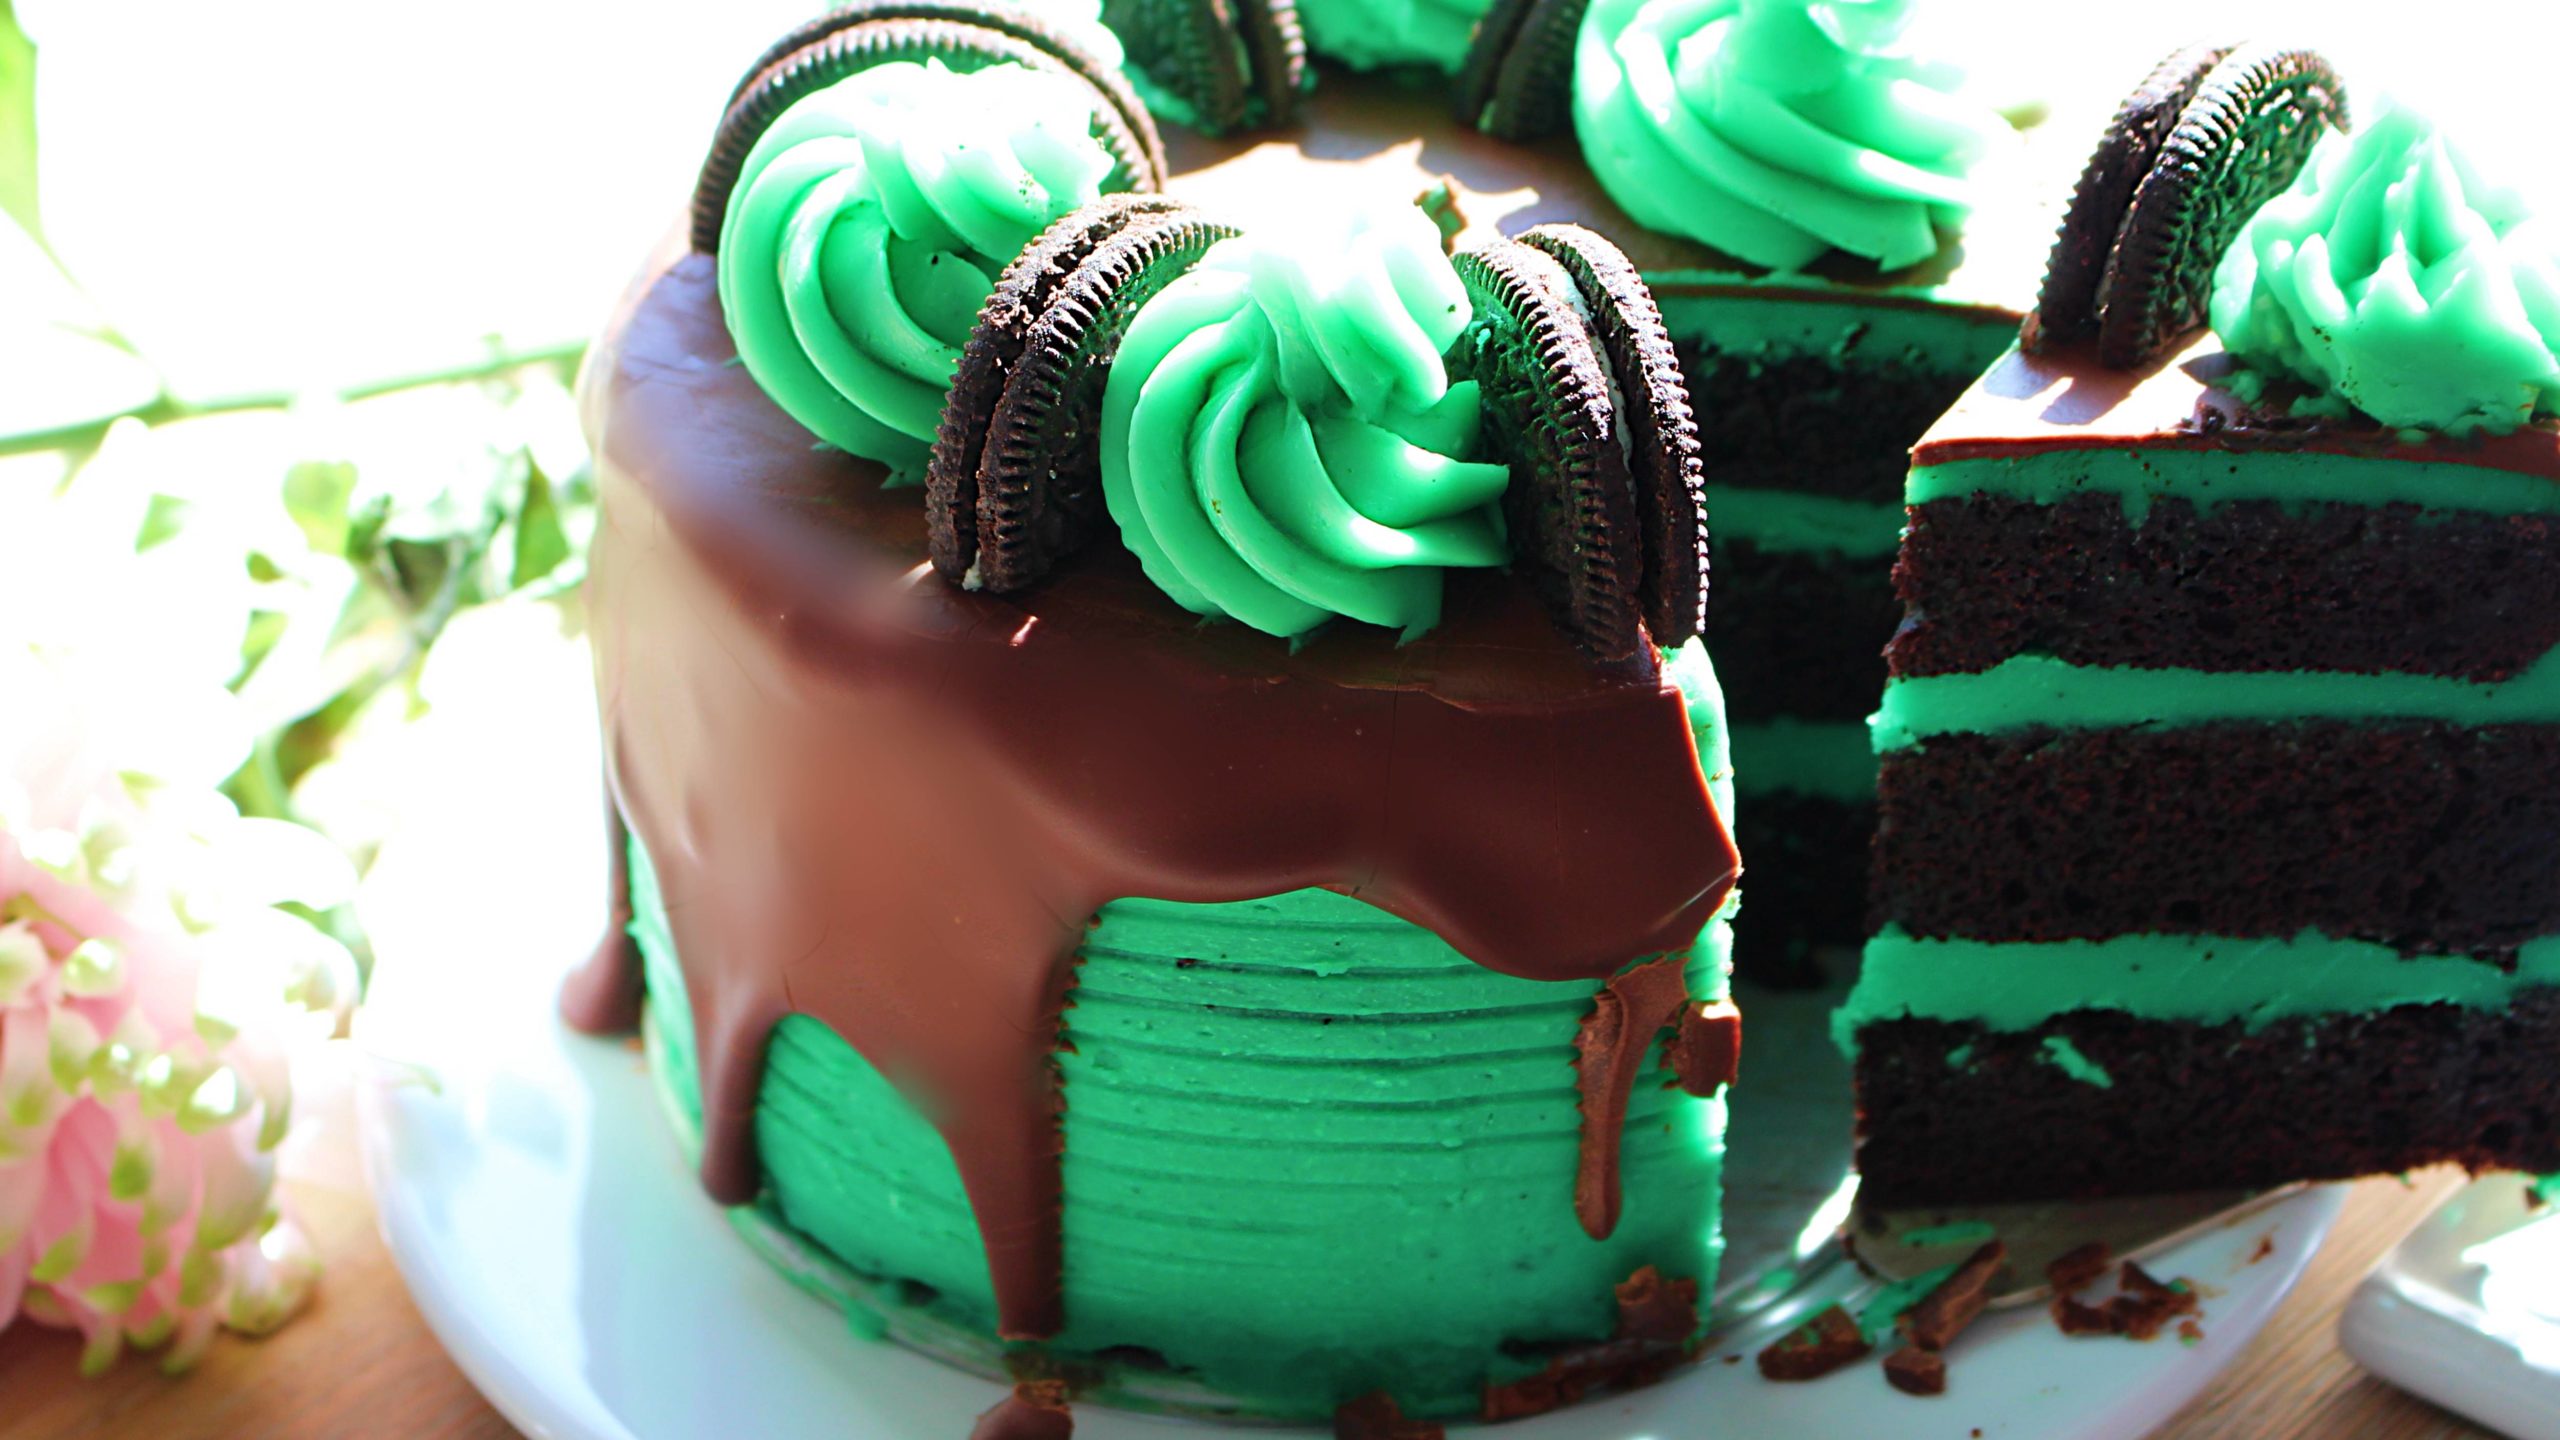
How to make Chocolate Mint Cake
Chocolate in combination with mint is something special and not common. We think certainly directly to the “After Eight” candy. Personally, the sweets were a little too sweet. But the chocolate mint ice cream has become one of my favorites. As a cake I have never eaten this variety and wanted to be surprised what comes out taste. In addition, the cake looks visually also very good.
The chocolate cake has become very juicy and good, please do not forget to add warm water at the end of the mass, I have unfortunately not recorded in the video.
My mint buttercream is me unfortunately not so well succeeded, because I have used to little sugar, I have taken much less than in the specifications (so please take exactly as much sugar as indicated in my ingredients). You can also use more mint oil to get an even more intense mint flavor. But do not use so much green food coloring, I accidentally used too much and the green color was too strong.
Chocolate Mint Cake Video Inspiration
Chocolate Mint Cake
Ingredients
- Chocolate Cake:
- 110g vegetable oil
- 200g granulated sugar
- 5 large eggs
- 130g sour cream
- 2 teaspoons pure vanilla extract
- 250g all purpose flour
- 85g unsweetened cocoa powder
- 1 1/2 teaspoons baking powder
- 1 teaspoon baking powder
- 1 teaspoon kosher salt*
- 240g warm water
- Mint Buttercream
- 520g powdered sugar
- 225g softened butter
- 1-2 teaspoons mint
- 1-2 tablespoons cream
- Ganache
- 70g dark chocolate
- 75g heavy cream
Directions
- Step 1 To start mix flour, cocoa, baking powder, soda and salt in a bowl.
- Step 2 Prepare in a second bowl normal sugar with oil, it should look like wet sand. Then add the 5 eggs one by one and mix everything. Now add the sour cream and the vanilla extract. Mix everything together well. Now add the flour as well. Mix everything well but do not overmix, as we do not want to lose the fluffiness. Add the warm water to the mixture and mix well again.
- Step 3 Prepare two baking pans, mine have a diameter of 15 cm. My chocolate genoise grew so high that I could cut a cake again and thus got 3 layers of cake. I would recommend you use 2 cake pans as well. So that the cakes become approximately the same size, weigh the dough so that the same proportion is filled in both molds. Tap the cake pans 3 times so that the air bubbles rise and the dough is evenly distributed. Bake the cakes for 35-40 min at 175 degrees. After that, let the cake cool well.
- Step 4 For the mint buttercreamfirst mix the warm soft butter until creamy and now add all the powdered sugar. At the beginning it will seem too much powdered sugar, but it should be the same, so that the buttercream is nice and fluffy. (I skimped on sugar and my cream didn’t get too fluffy, so don’t make that mistake
- Step 5 ))
- Step 6 Once the powdered sugar has disappeared into the butter and you’ve mixed everything well, add a little cream and the mint oil. Important: Use really mint oil (There are peppermint for drinks to buy, but this is not so intense). Now add a drop of green food coloring, not too much otherwise the cake will be too green (unless you want it that way.) Mix everything very well so that the color is evenly distributed.
- Step 7 When the cake is well cooled, remove it from the mold and cut away the upper part where the cake curves. You should get a smooth surface. I was able to cut a cake again and got 3 identical chocolate genoises.
- Step 8 Now place the first cake layer on a smooth surface (the rough cut part facing up) and start spreading the buttercream evenly from the middle of the cake. If you don’t have a proffessional spreading knife for this, just take the longest knife you have and spread the buttercream on the cake with it.
- Step 9 Now place the second cake with the rough side on top of the buttercream. Now spread buttercream on the cake here as well. Now you can spread buttercream also on the sides. Make sure at the end that you go over the sides again and spread the buttercream evenly on the sides, if you have like me another 3 cake, make this also on it and repeat the steps with the buttercream. It should not look perfect yet, put the cake for 20 minutes in the freezer.
- Step 10 After 20 minutes, take the cake out and spread buttercream on the sides again so that the chocolate cake is no longer visible, the same again on top. The surface should be smooth and well spread. When you are satisfied with your cake, place it in the freezer for 1 hour.
- Step 11 For the chocolate ganache, melt the dark chocolate and the cream over a water bath. Let the mixture cool to 30 degrees before you put it on the cake. Once your ganache has cooled, take the cake out of the freezer and pour the ganache into the center of the cake in one step. Using a flat knife, spread the ganache so that it slowly runs down the cake. You can also let the ganache flow directly down to the edge of the cake.
- Step 12 Put the cake again in the refrigerator for 1 hour. After 1 hour, fill some buttercream into a piping bag and decorate the cake with it. For decoration I have used mint Oreo. These I cut into halves and draped on the cake.
- Step 13 Ideally, the cake is eaten the same day or the next day. However, take the cake out of the refrigerator 1-2 hours before you serve it, so that the buttercream is nice and soft.


You must be logged in to post a comment.